Resources & guides
California solar, demystified.
No fluff, no salesy listicles. Just real guides on NEM 3.0 economics, battery sizing, utility quirks, and what we've learned from actual SoCal installs.
More articles
The future of home energy: Understanding Tesla's V2X update
Tesla recently caused a stir by announcing they will no longer support third-party bidirectional charging—often called V2X—for their vehicles. For many homeowners trying to integrate their EV with their home solar system, this update creates real confusion. At Helios Energy Global, we believe in helping you navigate these changes with total transparency. Key takeaways * Tesla’s new policy may void vehicle warranties if third-party V2X systems are used. * Safety concerns cited include batter
July 27, 20265 min
How to Download Your Green Button Data for NEM 3.0 Solar Planning
If you are a California homeowner considering solar, you have likely heard about NEM 3.0. It is a major shift in how utilities credit for solar power, making accurate system design more critical than ever. To build a system that actually saves you money, you need to understand your exact energy usage patterns by downloading your Green Button interval data. Key takeaways for NEM 3.0 * Data is power: Your utility bill is only a summary; your Green Button interval data provides the specific usa
July 26, 20265 min
Powering the Future: What Emerging Energy Shifts Mean for Your Home
Energy infrastructure is changing fast, moving toward massive grid-scale systems. While headlines focus on large networks, the real story for homeowners is how these shifts change your own power stability. It is no longer just about generating electricity; it is about how you store and manage it in your own home throughout the day. The evolution of energy infrastructure We are seeing a major push toward larger, more capable charging and storage networks. While these systems are often associat
July 23, 20265 min
Why Industrial Heat Pumps Are Changing the Game for Sustainability
Decarbonizing our energy grid is about more than just installing solar panels on rooftops. While residential transitions are vital, a massive portion of global energy usage comes from industrial steam production. A new approach to high-temperature heat pumps is finally offering a practical path forward for factories to move away from combustion-based boilers without breaking the bank. Key Takeaways * Industrial steam accounts for a significant portion of global energy consumption and relies
July 22, 20265 min
Unlocking Your Tesla: 25 Features You Likely Didn't Know Existed
Owning a Tesla is a unique experience because the vehicle you drive home today often gains new capabilities tomorrow. While we often obsess over range or charging speeds in Southern California, there is a hidden layer of software-driven utility that can significantly change how you interact with your car. From safety shortcuts to AI-powered navigation, many of these features remain tucked away in menus or physical design details that are easy to overlook. Key takeaways * Efficiency: Learn ho
July 21, 20265 min
Solar Energy: How to Make Smart Choices for Your Southern California Home
Navigating the world of solar energy can feel like a full-time job. With changing regulations and new technology hitting the market, it is easy to get overwhelmed. At Helios Energy Global, we believe in stripping away the confusion so you can feel confident about the power system you choose for your home. Lessons from the solar industry trenches I have spent years in this industry, and I have seen it all. I once operated a full-service contracting firm, and let me tell you, things did not alw
July 20, 20265 min
Unlocking energy freedom: The V2X bidirectional charging revolution
The landscape of home energy is changing fast. We have moved from simple solar panels to complex home microgrids, and the latest leap is bidirectional charging—often called V2X (Vehicle-to-Everything). This technology transforms your electric vehicle from a simple transportation machine into a powerful, mobile home battery capable of powering your life during grid outages. Key takeaways * Total integration: Bidirectional charging allows you to pull power from your home battery, solar array,
July 20, 20265 min
Why Your New Construction Home Solar Isn't Covering Your Bill
If you recently bought a new construction home in California, you likely inherited a solar system installed by the developer to satisfy state building codes. While it sounds like a great perk, many homeowners are realizing that this baseline setup doesn't actually offset their real-world energy usage, leading to massive annual true-up charges from utilities like SCE, PG&E, or SDG&E. ### Key Takeaways * New construction systems are often designed for minimum compliance rather than your specific
July 19, 20265 min
The Future of Home Energy: Lessons from Tesla's Latest Innovations
The landscape of home energy is changing quickly, and recent breakthroughs in manufacturing and technology are paving the way for more efficient, integrated systems. From advancements in battery electrode production to the expansion of consumer-accessible electric vehicle charging, these updates highlight a clear shift toward a cleaner, more electrified future for California homeowners.## Understanding the latest battery breakthroughs Recent patent filings reveal significant shifts in how energ
July 16, 20265 min
Why the Future of Home Energy Storage Isn't Just Lithium
The way we power our homes is undergoing a quiet but massive shift. While most people have heard of lithium-ion batteries, a new contender—sodium-ion—is emerging from the laboratory and onto the grid. For homeowners in Southern California, this transition suggests a more stable, affordable future for residential energy storage. Key takeaways for your home energy system * Material abundance: Unlike lithium, which faces supply chain volatility, sodium is incredibly common and inexpensive to so
July 14, 20265 min
Powering Your Next Adventure: Lessons from Solar and EVs
When we think about the future of home energy, it is easy to get caught up in the technical specs of solar panels or battery storage. But at Helios Energy Global, we see these systems as more than just hardware; they are the foundation for a life lived outdoors. Just as modern collaborations between innovators like Rivian and Nike highlight the potential for sustainable, gear-focused living, your home energy system is the silent partner fueling your lifestyle here in Southern California. Key t
July 14, 20265 min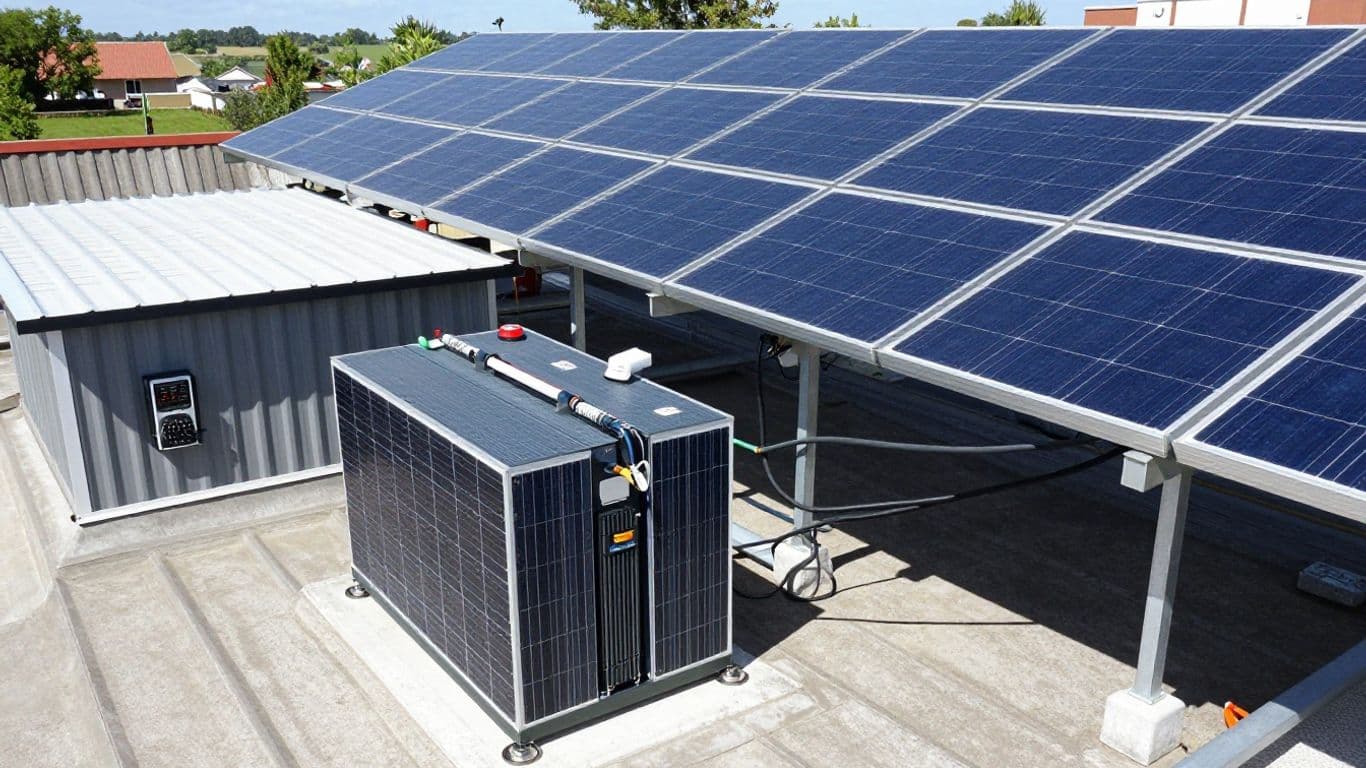
Taking control: A guide to building a reliable off-grid solar system
Deciding to go off-grid is a big step for any homeowner. Whether you are avoiding a costly grid connection or simply want total independence, the process requires more than just buying the right gear. Success comes down to careful planning, matching your storage to your habits, and managing your electricity output wisely. Understanding your energy autonomy When you leave the safety net of the utility grid, you have to think differently about power. It is not just about the solar panels; it is
July 13, 20265 min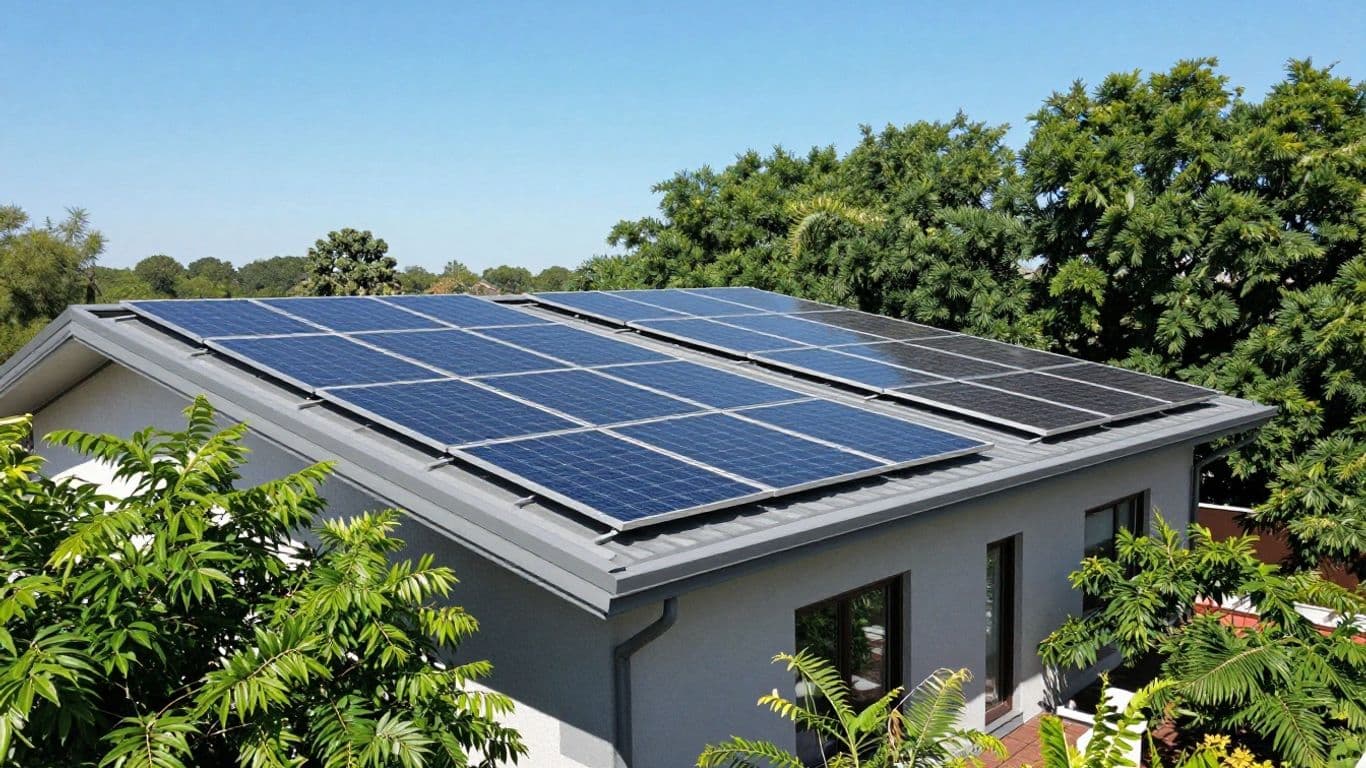
Is Solar Still Worth It? Your 2026 Guide to Smart Energy Investment
The solar industry has gone through some real turbulence over the last few years, from shifting government policies to the sudden collapse of some major installers. It is natural to feel hesitant about jumping in. But despite these headwinds, installing solar remains an excellent, sensible investment for homeowners as of 2026. Key Takeaways * Rising utility rates make early adoption more profitable than ever. * Electric vehicle (EV) batteries can now serve as your primary home backup, lower
July 13, 20265 min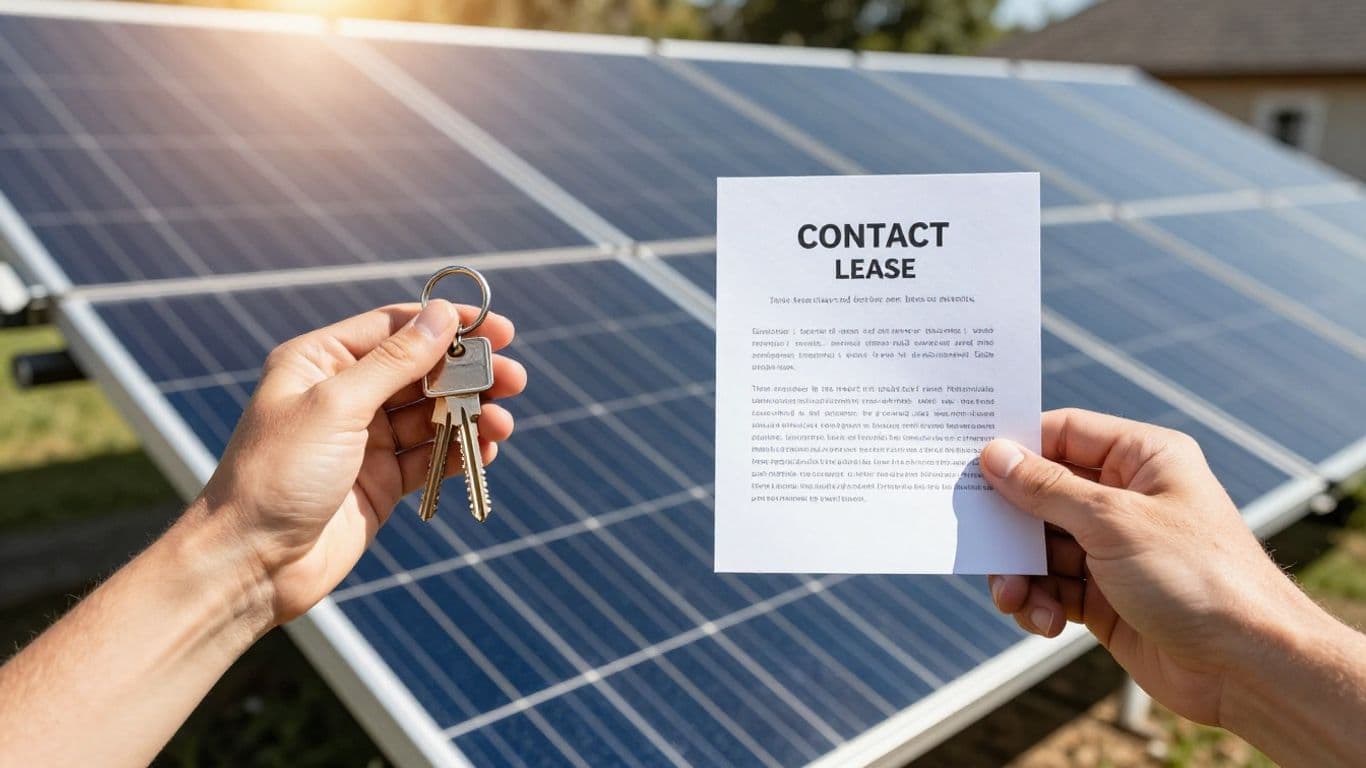
Should You Lease or Purchase Your Solar System in This Economy?
Deciding whether to lease or purchase a home solar system in California is a major financial choice, especially under the current NEM 3.0 net billing structure. With rising utility rates and varying tax implications, homeowners must carefully evaluate their specific energy goals and long-term tax liability to determine the best path forward. Key takeaways * Leasing typically covers equipment maintenance and battery replacements for up to 25 years, providing peace of mind. * Purchasing allow
July 11, 20265 min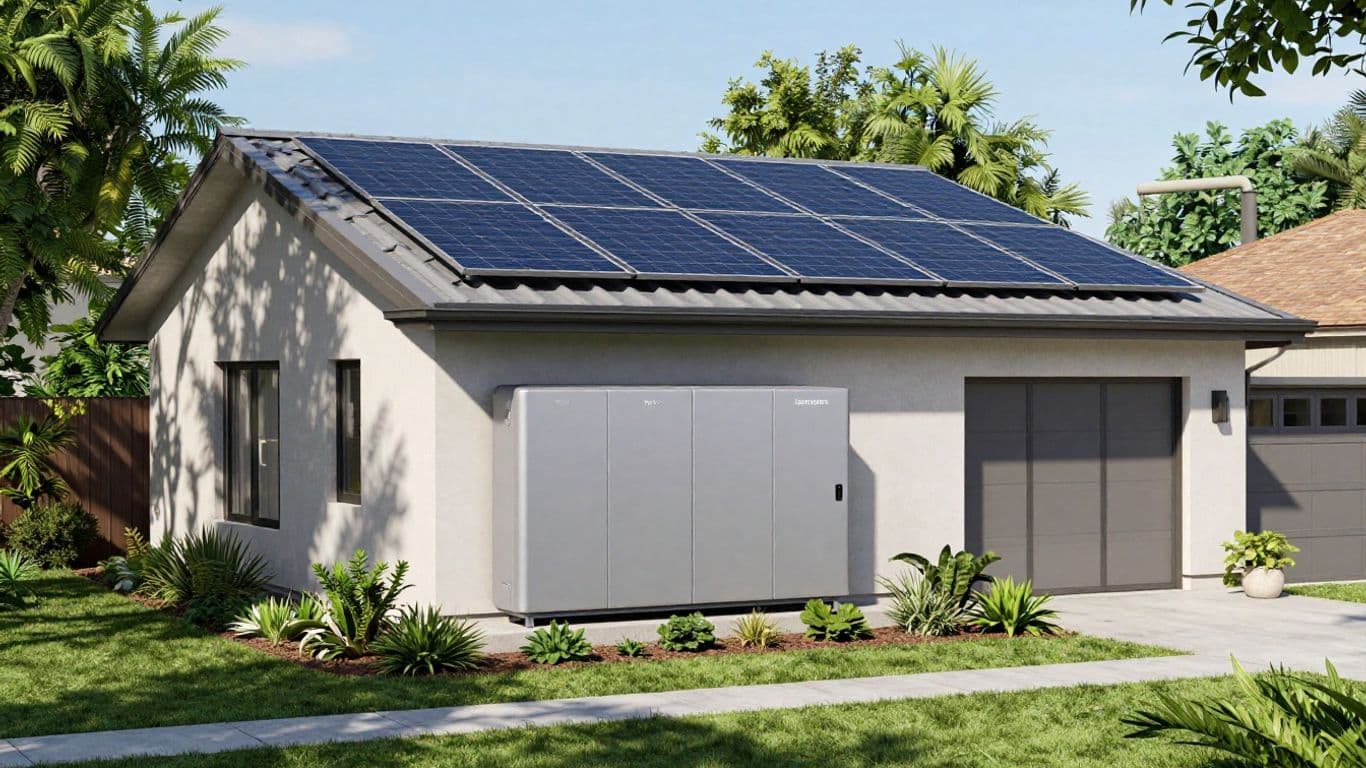
Maximizing Home Energy: Why California Homeowners are Turning to Tesla Power for Reliability
California homeowners are increasingly looking for ways to take control of their home energy usage. With shifting regulations and the rising importance of energy independence, many are turning to advanced storage solutions. Relying on integrated battery technology allows families to manage their power needs with greater confidence and efficiency, moving beyond the traditional grid-tethered lifestyle. Key takeaways * Solar and battery systems provide essential backup power during grid instabi
July 9, 20265 min
Lithium Valley: Could California’s Hidden Treasure Change Your Home’s Energy Future?
The Salton Sea is a strange, desolate place that history books might call an environmental disaster. Yet, beneath its toxic salt flats, engineers have discovered a massive deposit of “white gold”—lithium. This discovery could turn Southern California into a global powerhouse for the clean energy transition, directly impacting how you power your home and charge your car. ### Key Takeaways of the Lithium Valley Revolution - The Salton Sea holds enough lithium to potentially meet a massive share of
July 7, 20265 min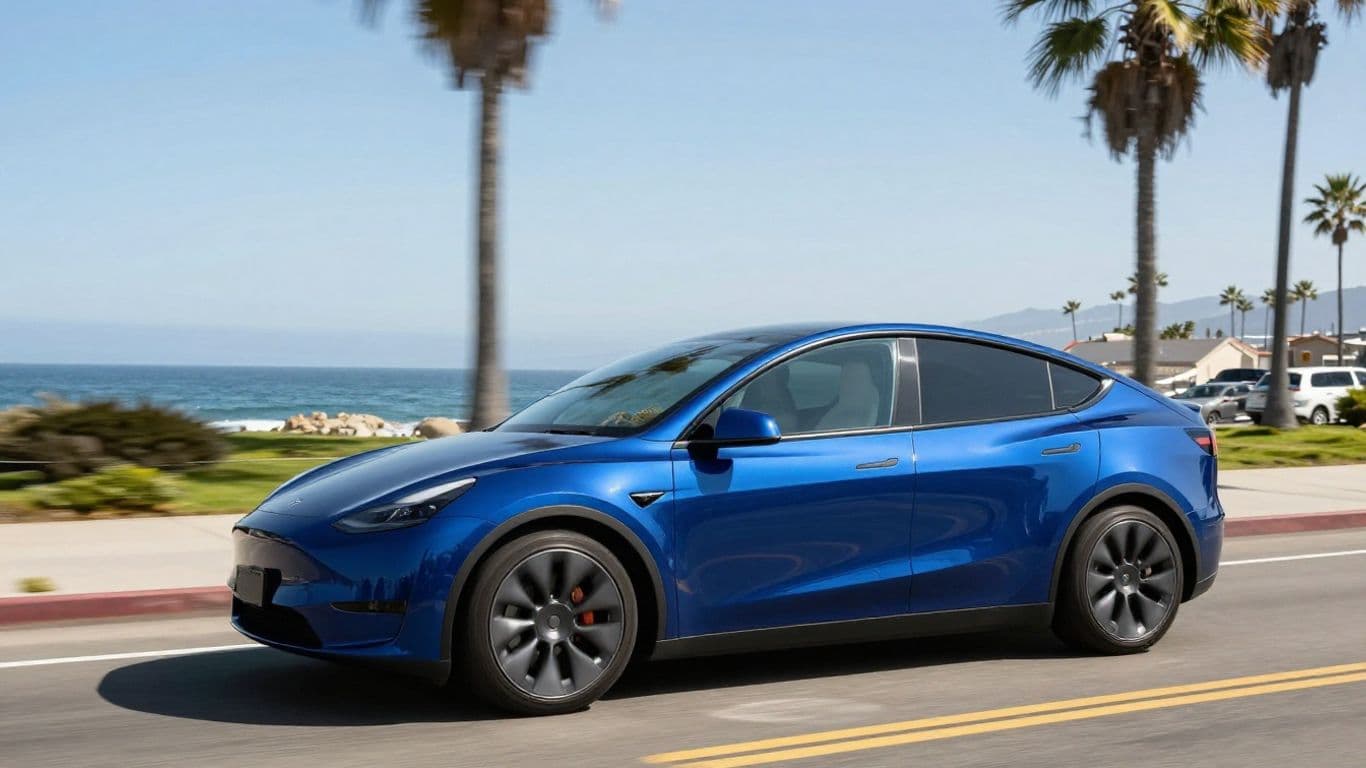
Is the Tesla Model Y Performance Worth the Upgrade? A Long-Term SoCal Owner’s Take
Deciding between the standard Model Y and the Performance edition ($8,000 extra) is a common dilemma. Having spent thousands of miles behind the wheel in Southern California traffic, it comes down to whether you prioritize raw emotion and track-ready handling or the core efficiency and reliability of a standard trim. Key Takeaways * The Performance edition offers superior acceleration and handling, making it a joy on the open road. * Larger wheels and a staggered tire setup lead to faster w
July 7, 20265 min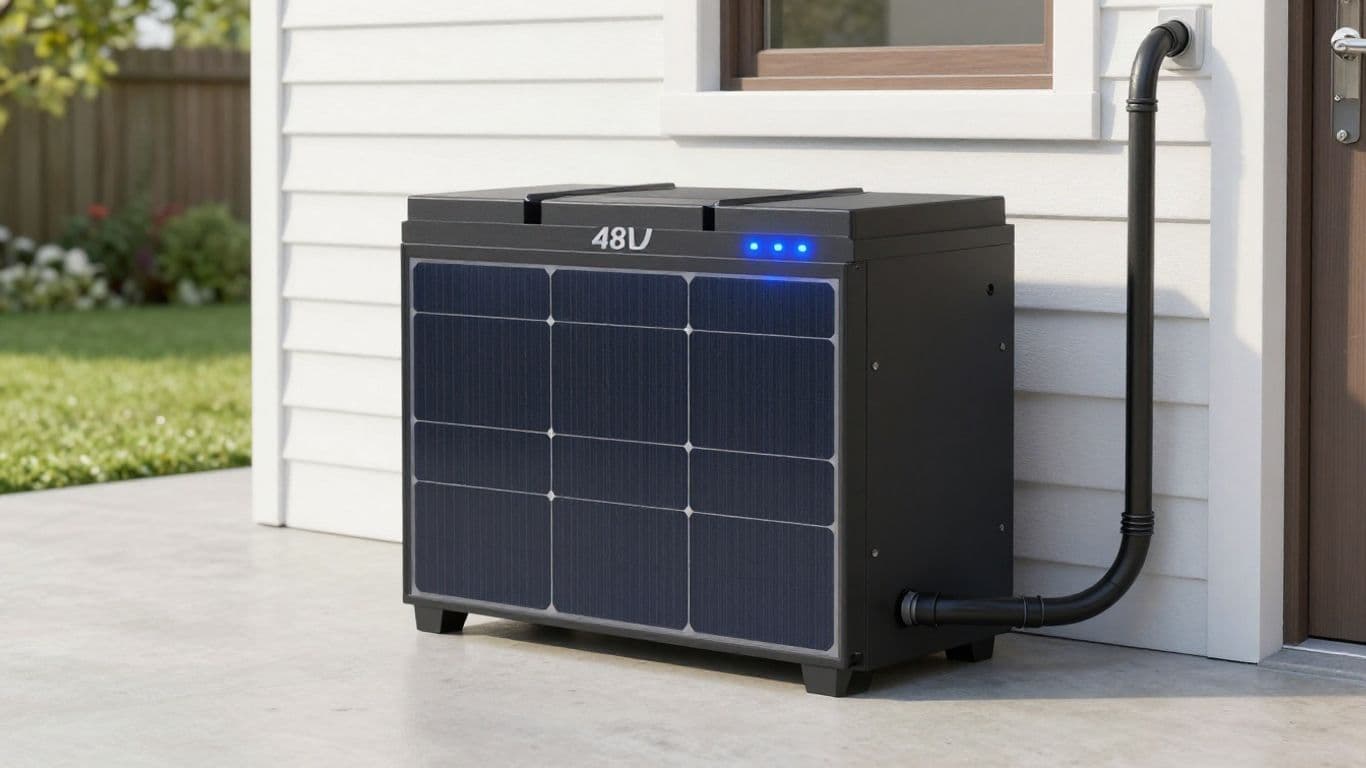
Top 5 Best 48V Solar Batteries for 2026: A Buyer's Decision Guide
Selecting the right energy storage system can feel like a tall task, but it is one of the most important steps toward true energy independence. As we move into 2026, 48-volt systems remain the gold standard for off-grid and modular setups, offering homeowners a flexible way to expand their storage capacity without needing to overhaul their entire inverter configuration. At Helios Energy Global, we focus on helping you find a setup that balances performance, aesthetics, and lasting reliability.
July 6, 20265 min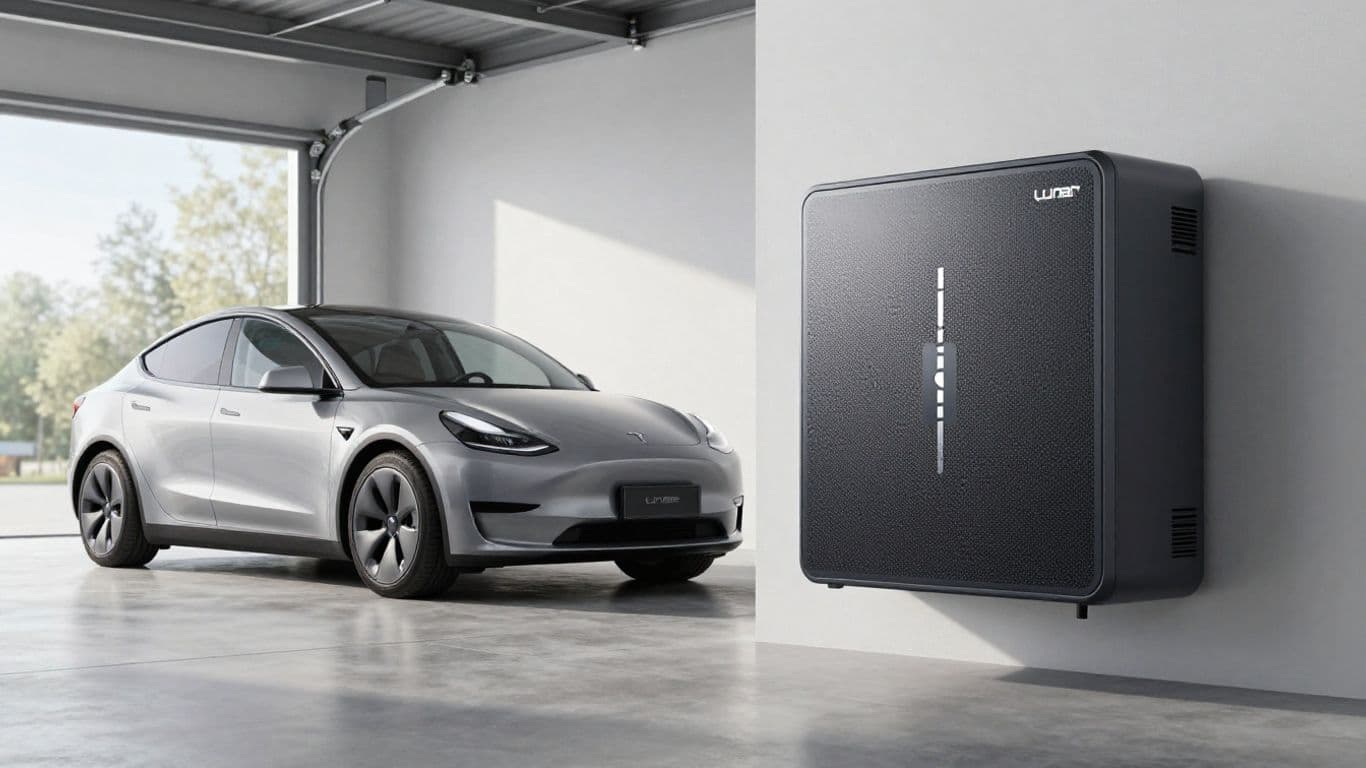
Tesla Powerwall 3 vs. Lunar Energy: A Homeowner’s Guide
Choosing a home battery system can feel like a headache. There are so many options popping up, and it is hard to tell what actually works best for a home in Southern California. I have been looking at two of the biggest names lately: the Tesla Powerwall 3 and the newcomer, the Lunar Energy system. At Helios Energy Global, we focus on custom designs that actually fit the look of your house, and we figured it was time to break these two down so you can make a choice that makes sense for your famil
July 6, 20265 min
Why your California energy bill is spiking and how to fight back
If you are a California homeowner, you have probably noticed your energy bills creeping up every single month. It is honestly exhausting. Between the utility companies pushing for rate hikes to cover infrastructure costs and the shift in how solar is credited, many folks feel like they are just throwing money away every time they turn on the lights. Here is the reality of the situation and how you can actually take control of your monthly costs. Key takeaways * Rate hikes are inevitable: Uti
July 4, 20265 min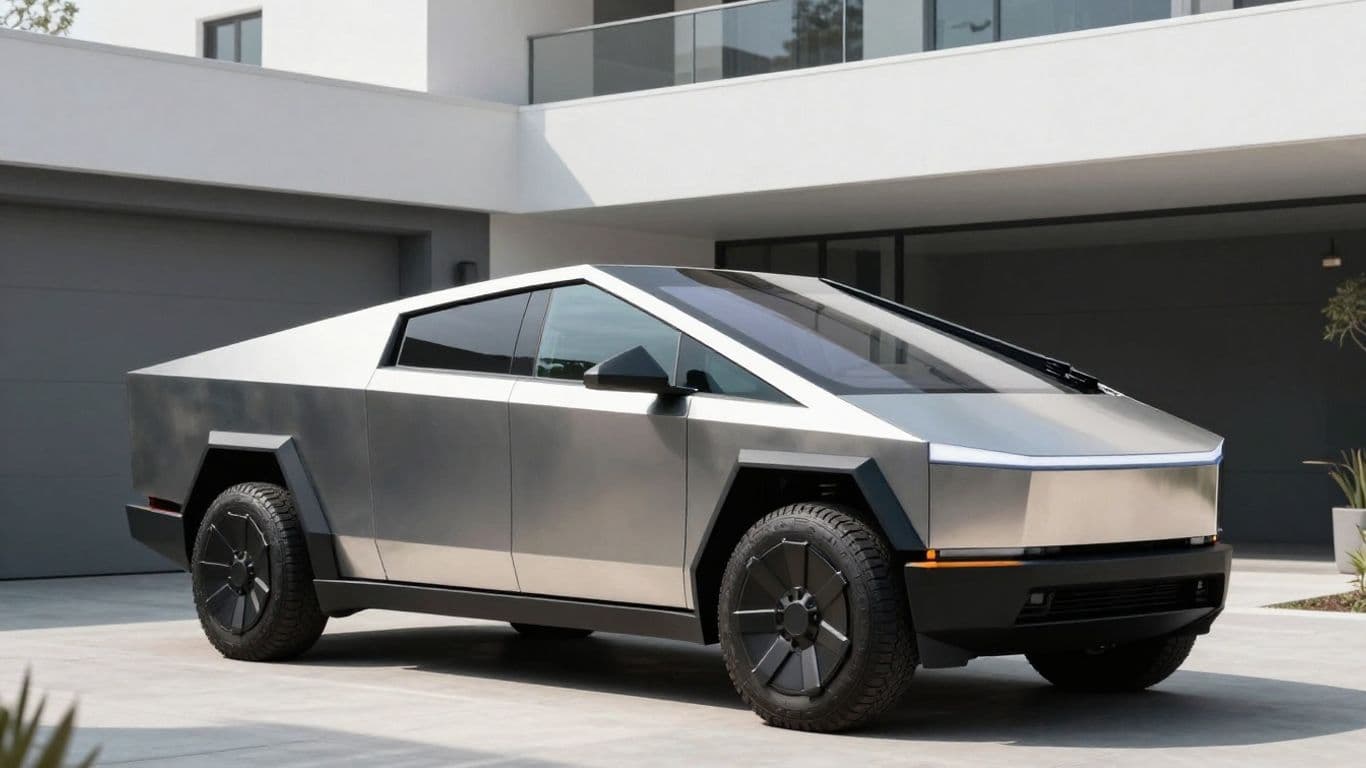
Why the Cybertruck just raised the bar for home and vehicle safety
The automotive world might seem disconnected from your living room, but the same engineering rigor applied to modern vehicles like the Tesla Cybertruck is setting a new standard for reliability and safety. As Californians look for smarter ways to manage their home energy, it is worth looking at how these same principles of robust, forward-thinking design apply to your solar and battery setup. Key takeaways * The Cybertruck recently earned the IIHS 'Top Safety Pick Plus' award, making it the
July 2, 20265 min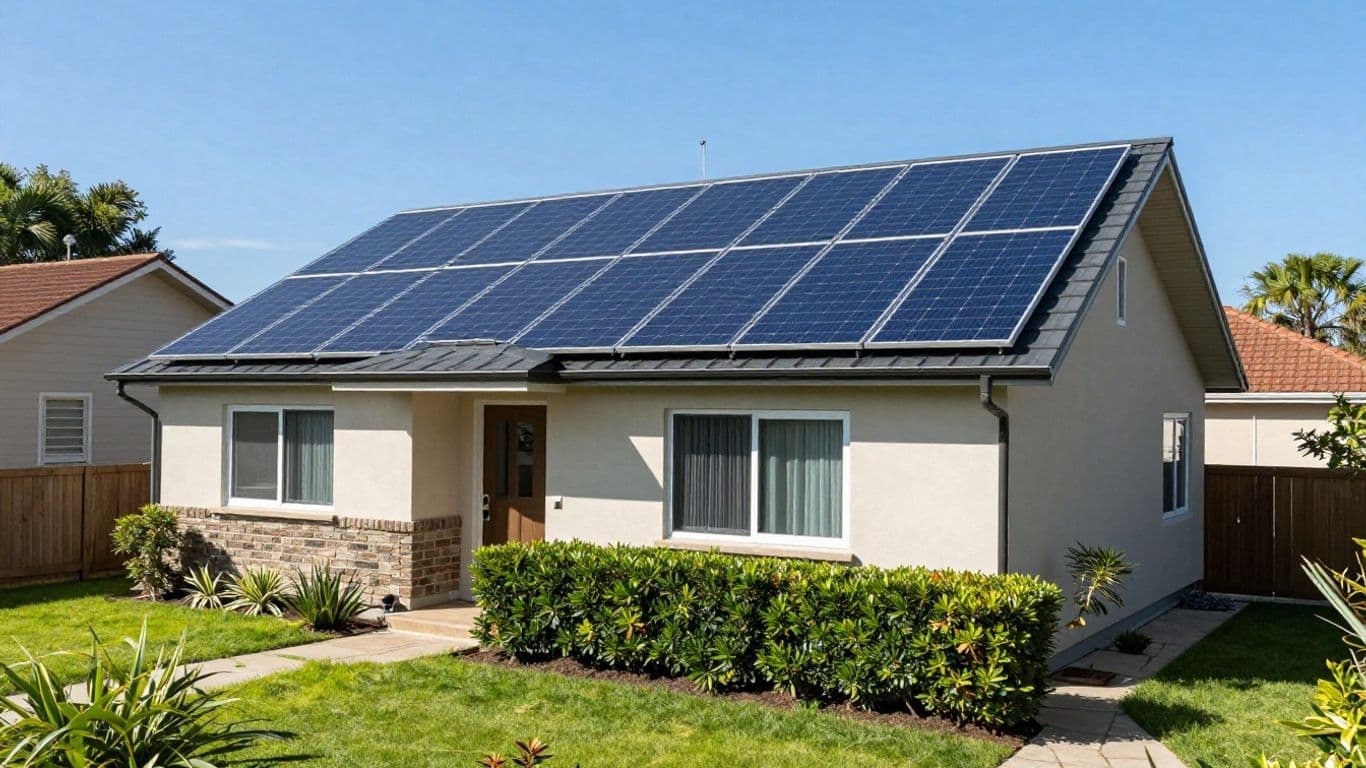
The Solar Energy Future: Why Homeowners Should Focus on Current Tech
The world recently got wrapped up in the hype surrounding LK-99, a material mistakenly thought to be a room-temperature superconductor. While the scientific community eventually debunked these claims, the excitement proved how desperate the world is for efficient energy breakthroughs. For homeowners in Southern California, however, the real energy revolution isn't happening in a lab—it's happening on your roof. Key Takeaways for Homeowners * Practicality over Hype: While scientists search fo
June 30, 20265 min
A first look at the 2027 Toyota Highlander EV: Stepping into the electric future
Toyota has officially entered the three-row electric SUV market with the reveal of the 2027 Highlander EV. Moving away from their traditional focus on hydrogen and hybrids, this redesigned model marks a massive shift for the brand, prioritizing modern aesthetics, impressive range, and family-focused functionality in a fully electric package.### Key takeaways * The 2027 Highlander EV offers up to 320 miles of range with the larger 95.8 kWh battery pack. * It features NACS charging capability,
June 30, 20265 min
Solar in 2026: A pragmatic guide for Southern California homeowners
The way we think about solar energy is changing fast. For years, it was simple: put panels on the roof, feed power to the grid, and get a credit. But moving through 2026, the game has shifted toward energy independence, resilience, and software-driven management, making it vital for homeowners to look at their energy setup as a long-term investment rather than just a quick utility fix. Key takeaways * Software now plays the leading role in how your system manages, stores, and optimizes energ
June 29, 20265 min
Tesla's New Solar Panels: A Closer Look at the TSP 415 and 420
The landscape of residential solar is shifting as Tesla moves to bring its manufacturing fully in-house. By producing the new TSP 415 and TSP 420 panels at their Gigafactory in New York, the company is aiming to streamline the solar install process. For homeowners, this signals a focus on domestic energy production and potentially lower costs through simplified hardware. Why vertical integration matters for solar For a long time, the solar industry relied on a mix-and-match approach, where co
June 29, 20265 min
Solar financing in 2026: A guide for California homeowners
The way we pay for solar and battery systems has shifted significantly entering 2026. If you are considering adding solar to your home, the choices can feel overwhelming with new federal tax structures and evolving market incentives. It is essential to look at your options clearly so you can make a decision that actually makes sense for your long-term energy goals. Key takeaways * Direct ownership gives you total control over equipment and system upgrades. * Third-party ownership (TPO) allo
June 29, 20265 min
Why Home Energy Storage is More Important Than Ever for Californians
It feels like energy reports change every single week lately. Between the grid strain in Southern California and the constant chatter about battery tech, it is getting hard to keep up. I think most of us just want a system that works, saves us some money, and actually looks nice on our roofs. Key takeaways * Large-scale battery production is hitting its stride, which helps keep the grid stable for everyone. * Smarter technology is making residential energy systems more efficient, not just t
June 25, 20265 min
Your Solar Journey in SoCal: Powering Your Home with Helios Energy
Considering solar for your Southern California home? It's a big decision, and understanding the process, potential savings, and long-term benefits is key. Helios Energy Global is here to guide you through it, offering transparent pricing and modern, aesthetically pleasing solar and battery systems designed specifically for homeowners like you. Why Go Solar in Southern California? Southern California offers some of the best solar potential in the country. With abundant sunshine year-round, ins
June 23, 20265 min
Tesla's Bold Move: Aiming to Be America's Top Solar Panel Maker
Tesla has announced ambitious plans to significantly boost its solar panel manufacturing capacity in the United States, aiming to become the country's largest producer by the end of 2028. This move could dramatically reshape the domestic solar market, especially as the industry adapts to new incentives and supply chain considerations. Tesla's Manufacturing Ambitions Currently, the U.S. has about 65 megawatts of solar panel manufacturing capacity. Tesla's goal is to add an additional 100 gigaw
June 22, 20265 min
2026 Solar Buyer’s Guide: What the Pros Wish You Knew Before Choosing a System
The solar industry is looking different in 2026—new rules, fresh technology, and much stronger opinions about how solar should be financed and installed. If you’re a homeowner in Southern California, figuring out which system or company to trust can feel overwhelming. This guide unpacks how top solar CEOs see the landscape today, explores how products get chosen, and explains what all these changes mean for regular people trying to make smart energy decisions. Key Takeaways * Standardized, r
June 22, 20265 min
Choosing Your Home Solar Battery: A 2026 Buyer's Guide
As we head into 2026, the question of which solar battery system is best for your home is more important than ever. These aren't just batteries; they're all-in-one solutions designed for energy independence, reducing your electricity bills, and providing backup power during outages. We're looking at systems that integrate solar and storage, offering a smarter way to manage your home's energy. Key Takeaways * All-in-One Systems: Most modern solar batteries are integrated systems, combining in
June 22, 20265 min
Dyson's Farming Secret: How They Cracked Vertical Farming Profitability
The world of vertical farming has been a tough one, with many companies struggling to turn a profit despite significant investment. However, the innovative approach of Dyson, a company known for its engineering prowess, might just have found the key to making it work. This isn't just about growing strawberries; it's about a smarter, more sustainable way to produce food. Key Takeaways * Energy Costs are the Biggest Hurdle: Traditional vertical farms use massive amounts of electricity for ligh
June 18, 20265 min
Tesla's New Interior Tech and Solar Updates for California Homeowners
This week, we're looking at some interesting developments from Tesla, including a new patent for interior car technology and updates on their energy products. While some news focuses on EVs and broader policy, we'll focus on what matters for homeowners in California, especially concerning solar and home energy. Key Takeaways * Tesla's new patent could lead to cleaner, more intuitive car interiors. * The Model 3 continues to be a top-rated car for owners. * Updates on Tesla's energy storage
June 17, 20265 min
Tesla Model X is Out, But What's the Best 3-Row EV Now?
Tesla has officially thrown in the towel on the Model S and X, but if you're still in the market for a three-row electric vehicle, don't worry. There are plenty of great alternatives out there. As someone who's driven a lot of them, I'm here to break down what's available now that the original Model X is leaving the scene. Key Takeaways * Tesla Model X: Still available until June 2026, offers luxury and Tesla's FSD, but the third row is tight for adults and the model is being discontinued, r
June 16, 20265 min
Tesla Powerwall 3 vs. Sol-Ark: Which Home Battery System Is Right For You?
Choosing the right home solar and battery backup system can feel like a big decision, especially with top contenders like the Tesla Powerwall 3 and the Sol-Ark hybrid inverter system. Both offer ways to gain energy independence and keep your lights on during outages, but they work in fundamentally different ways. Let's break down what makes each unique to help you decide which is the smarter choice for your home. Key Takeaways * Sol-Ark: Modular, low-voltage system that allows for battery fl
June 15, 20265 min
Fox ESS PowerQ: The All-In-One Solar and Battery System for Your Home
If you're looking for a smart, all-in-one solution for solar energy and storage that includes whole-house backup, the Fox ESS PowerQ system is definitely worth a closer look. It's designed to be a simpler, more effective way to go solar. Fox ESS is an international company that's been successful in many markets, and they're now bringing their flagship residential product, the PowerQ, to the US. Many companies held off on releasing battery and inverter systems in the US until recently. This was
June 15, 20265 min
EP Cube 2.0: Double The Power, Smarter Control For Your Home
This video takes a look at the new second-generation EP Cube inverter and battery system from Canadian Solar. It highlights significant upgrades in power output, storage capacity, and smart control features, making it a compelling option for homeowners looking to enhance their energy independence, especially under new utility rate structures. Key Takeaways * Increased Power Output: Gen 2 offers 11.5 kW output, nearly double the 7.6 kW of Gen 1. * Expanded Storage: Capacity jumps from 20 kWh
June 15, 20265 min
Solar Desalination: A Game-Changer for Water and Power?
Imagine a world where we could turn seawater into fresh, drinkable water with zero waste, and in the process, generate clean electricity 24/7. An Australian startup, Soul Diesel, claims they've developed a technology that does just that. This innovative approach tackles the biggest hurdle in desalination: what to do with the leftover salty brine. Key Takeaways * Zero Waste Process: Converts seawater into fresh water and electricity, with the leftover brine crystallized into salt, eliminating
June 11, 20265 min
Tesla Model Y Gets Interior Upgrades & Free Supercharging For Model 3 Buyers
Tesla is making some interesting moves for its popular electric vehicles. For buyers of the Model 3, there's a limited-time offer for a year of free Supercharging, which could mean significant savings. Meanwhile, the Model Y is receiving some interior enhancements, bringing more premium features to more trims. Key Takeaways * Model 3 Free Supercharging: Purchase a Model 3 by June 15th and get one year of free Supercharging. * Model Y Interior Updates: Rear-wheel drive and all-wheel drive Mo
June 10, 20265 min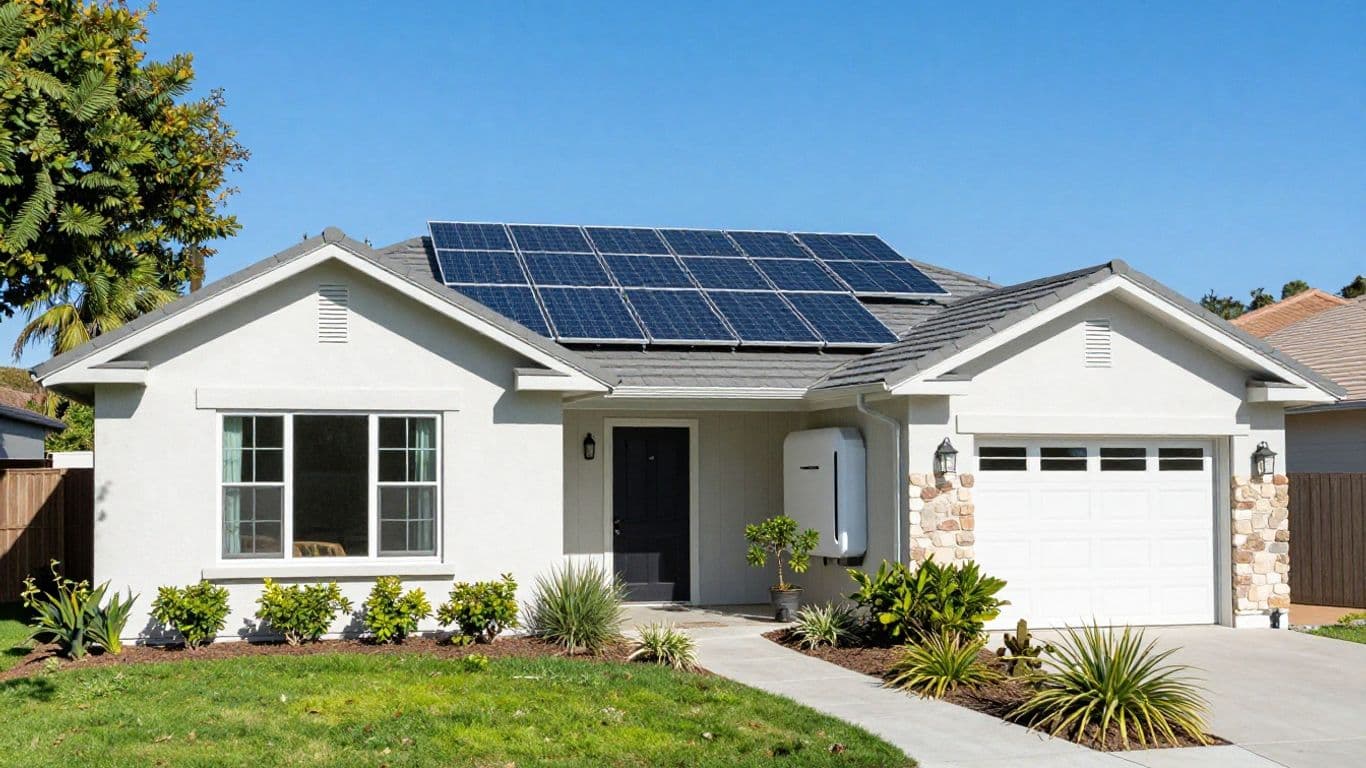
Living With Solar and Powerwall in Southern California: A Long-Term Owner's Perspective
As a long-time resident of Southern California, I decided to take the plunge into solar energy a few years back, and I've been living with a Tesla Powerwall ever since. It's been quite the journey, and I wanted to share what it's really like, especially with how energy prices and utility policies are always changing around here. Key Takeaways * Yearly Production: My solar system consistently produces a significant amount of energy each year, with only minor year-over-year fluctuations. * En
June 9, 20265 min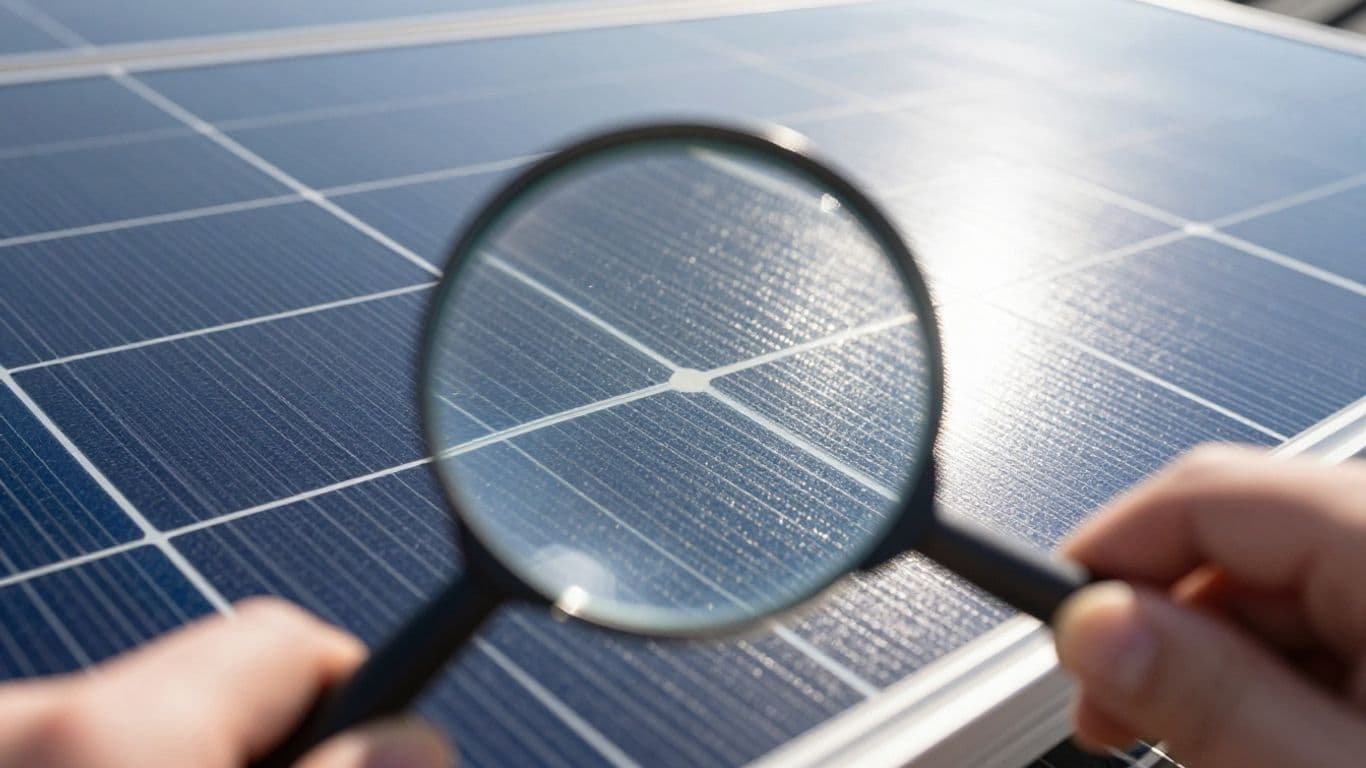
Is Your Solar Panel Investment Safe? What Testing Really Means for Homeowners
Thinking about going solar? It's a big investment, and you want to make sure the equipment you choose is safe, reliable, and will perform as expected for years to come. This podcast episode sits down with Cherif Kedir, CEO of the Renewable Energy Test Center (RETC), to pull back the curtain on how solar panels and other essential components are rigorously tested. We'll explore why this independent testing is so important, especially for homeowners looking to maximize their investment and ensure
June 8, 20265 min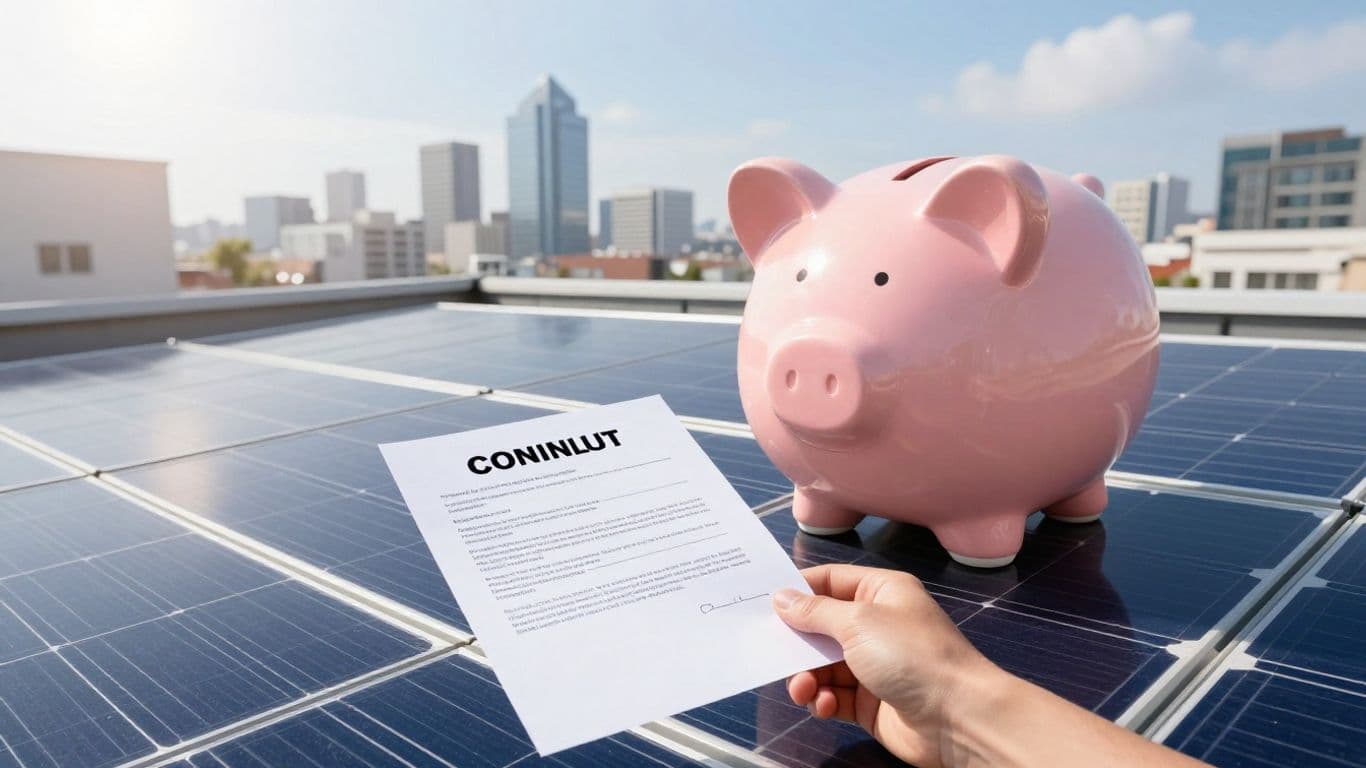
The Future of Solar Financing: Prepaid Leases and NEM 3.0
The solar industry is seeing big shifts as we head into 2026. With changes to tax credits and new financing options emerging, homeowners need to understand how these developments might affect them, especially in California under NEM 3.0. Key Takeaways * Third-Party Ownership (TPO) is growing: Leases and Power Purchase Agreements (PPAs) are becoming more common as the individual solar tax credit (25D) phases out. * Domestic Content & FEOC rules: To qualify for enhanced tax credits (like the
June 8, 20265 min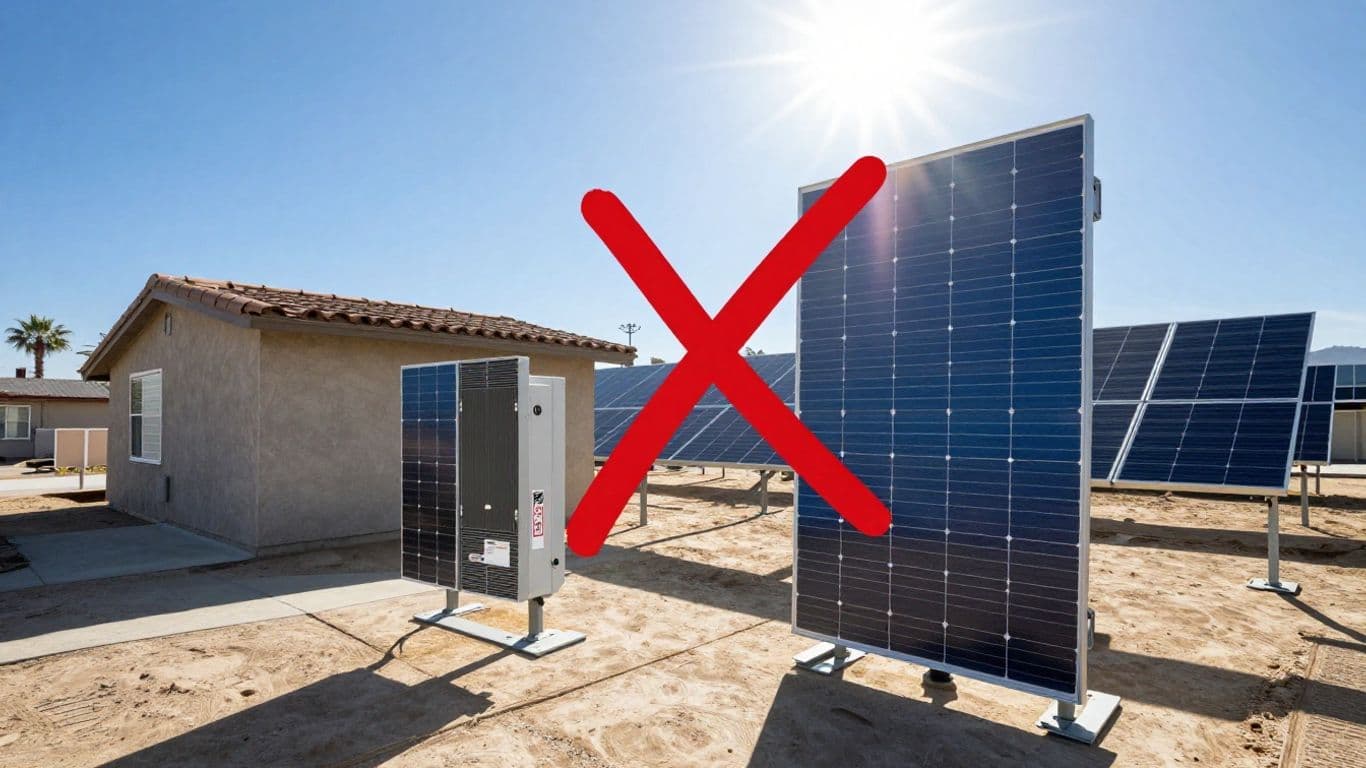
Chinese Inverters BANNED in 2026? What NEM 3.0 Means for CA Homeowners
The solar industry is buzzing with talk about potential tariffs and bans on Chinese-made inverters and batteries, especially as we head into 2026. This could significantly impact the cost and availability of solar equipment, forcing a shift in how systems are financed and what components are used. California homeowners, in particular, need to understand how these changes, especially under NEM 3.0, will affect their self-consumption strategies. Key Takeaways * Tariff Increases: Expect a 15% d
June 8, 20265 min
Supersonic Travel Is Back: What Homeowners Need to Know About the Future of Flight
Supersonic passenger jets are making a comeback, and the excitement is palpable. Companies like Boom Supersonic are developing new aircraft, aiming to bring back the thrill of flying faster than the speed of sound. This isn't just about speed; it's about making supersonic travel accessible and practical for more people. Key Takeaways * Faster Travel: Supersonic jets promise significantly reduced travel times on long-haul routes. * Economic Viability: The focus is on making tickets affordabl
June 4, 20265 min
Tesla's Camera Cleaning Patent & Solar Power Surging
Tesla has filed a new patent for a lens cleaning system, potentially solving a long-standing issue for autonomous driving systems. This system, inspired by human eyelids, aims to keep the car's cameras clear of rain, snow, and dirt, which can hinder visibility. The patent suggests it could be retrofitted to existing vehicles, and might even be applicable to Optimus robots. Key Takeaways * Camera Clarity: A new patent aims to keep Tesla's cameras clean, improving autonomous driving reliabilit
June 3, 20265 min
Nvidia: The Unseen Engine Driving Our Autonomous Future
You might know Nvidia for its graphics cards, but that's just the tip of the iceberg. This company is quietly becoming one of the biggest players in the world, powering everything from artificial intelligence to supercomputers that even Tesla uses. They're the brains behind a lot of the cool tech we're seeing emerge, and it's happening faster than most people realize. Key Takeaways * Nvidia's technology is foundational to advancements in AI, autonomous vehicles, robotics, healthcare, agricul
June 2, 20265 min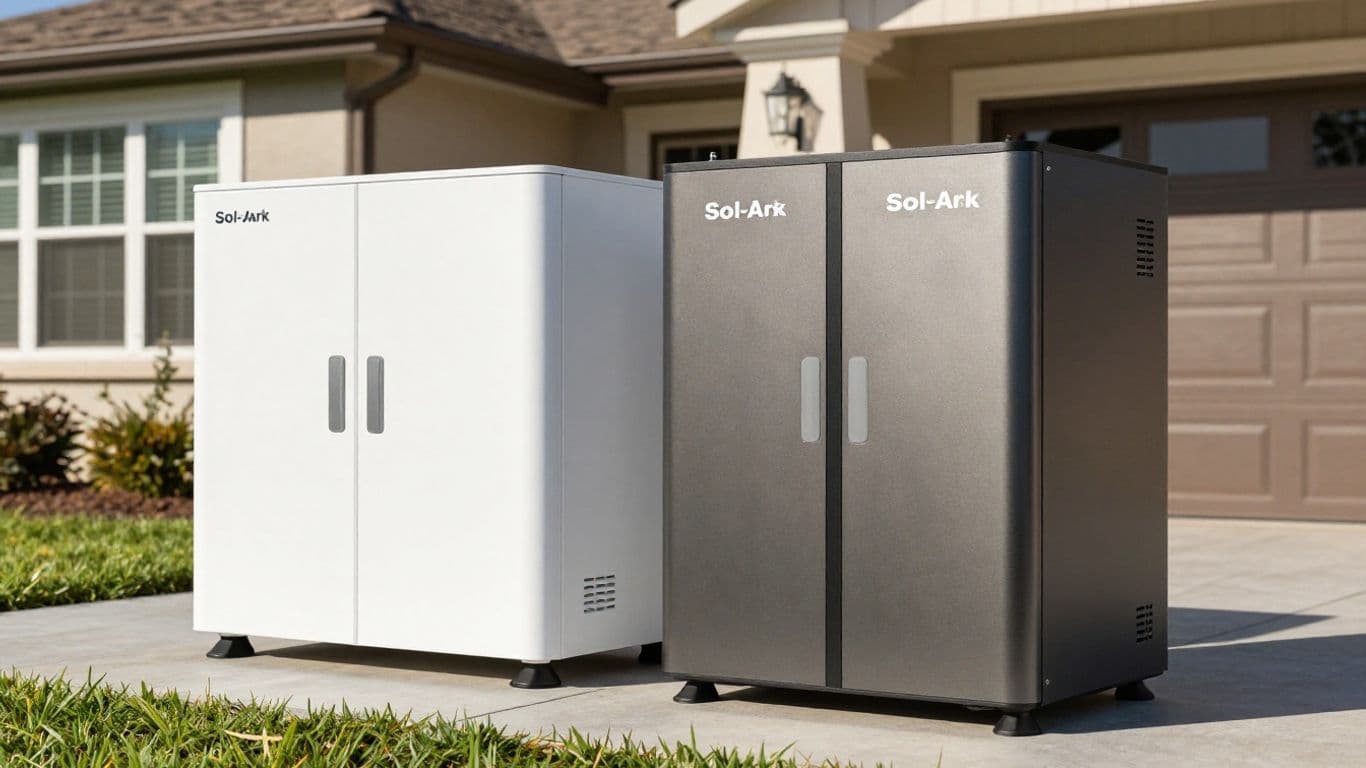
Sol-Ark vs. Enphase IQ Battery 10C: Which Home Battery System Is Right For You?
Choosing the right solar and energy storage system can feel like a big decision, especially with so many options out there. This video breaks down two popular choices: the Sol-Ark hybrid inverter system and the Enphase IQ Battery 10C. We'll look at how they work, their pros and cons, and what they might mean for homeowners, particularly under new regulations like NEM 3.0. Key Takeaways * Modular vs. All-in-One: Sol-Ark uses a modular, low-voltage system where you can mix and match components
June 1, 20265 min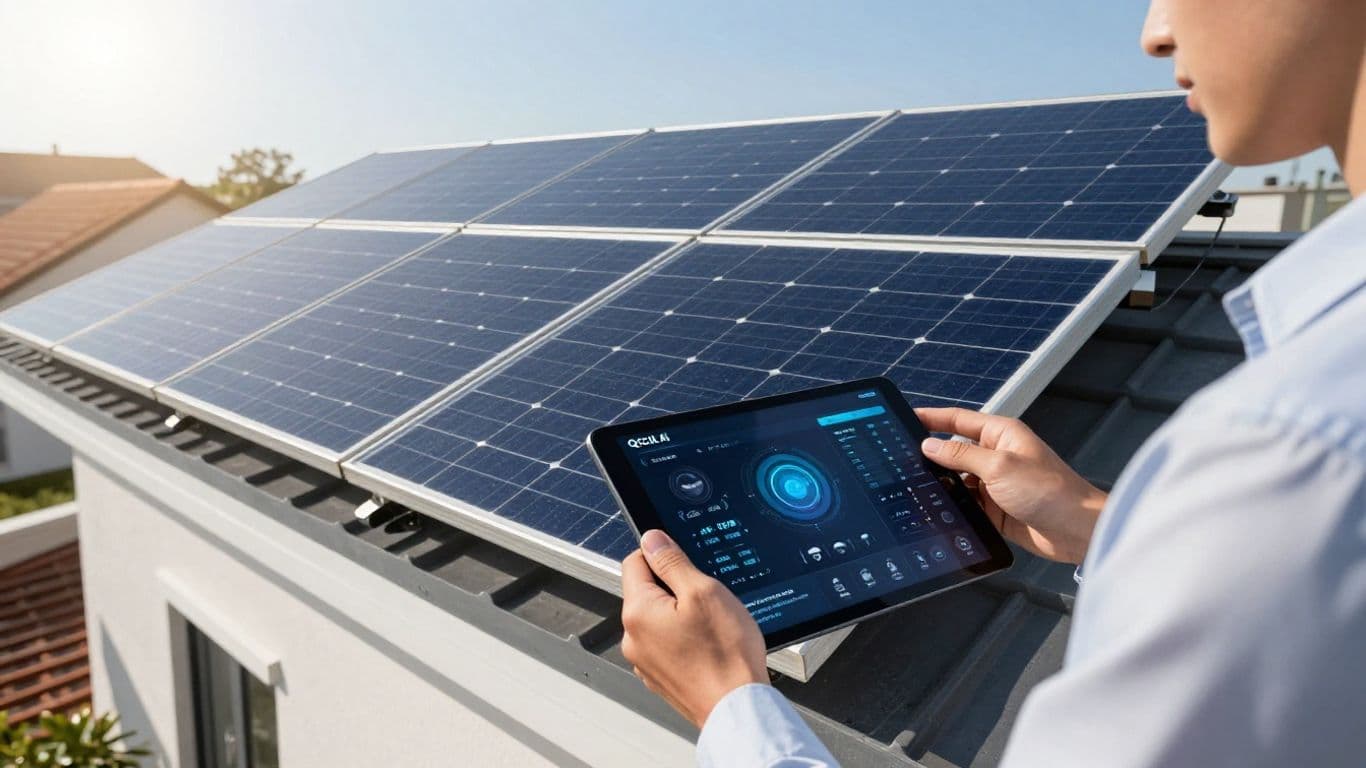
Qcells AI: Streamlining Solar Projects for Homeowners and Developers
At the RE Plus conference in Las Vegas, Joe Oria of Solar Surge sat down with Young Chun Park from Qcells to discuss the company's significant investment in solar software and artificial intelligence. Qcells aims to simplify the entire solar project lifecycle, from initial design to ongoing operation, by integrating hardware and software solutions. Key Takeaways * Qcells is developing integrated software solutions to address fragmentation in the solar project design and operation process. *
June 1, 20265 min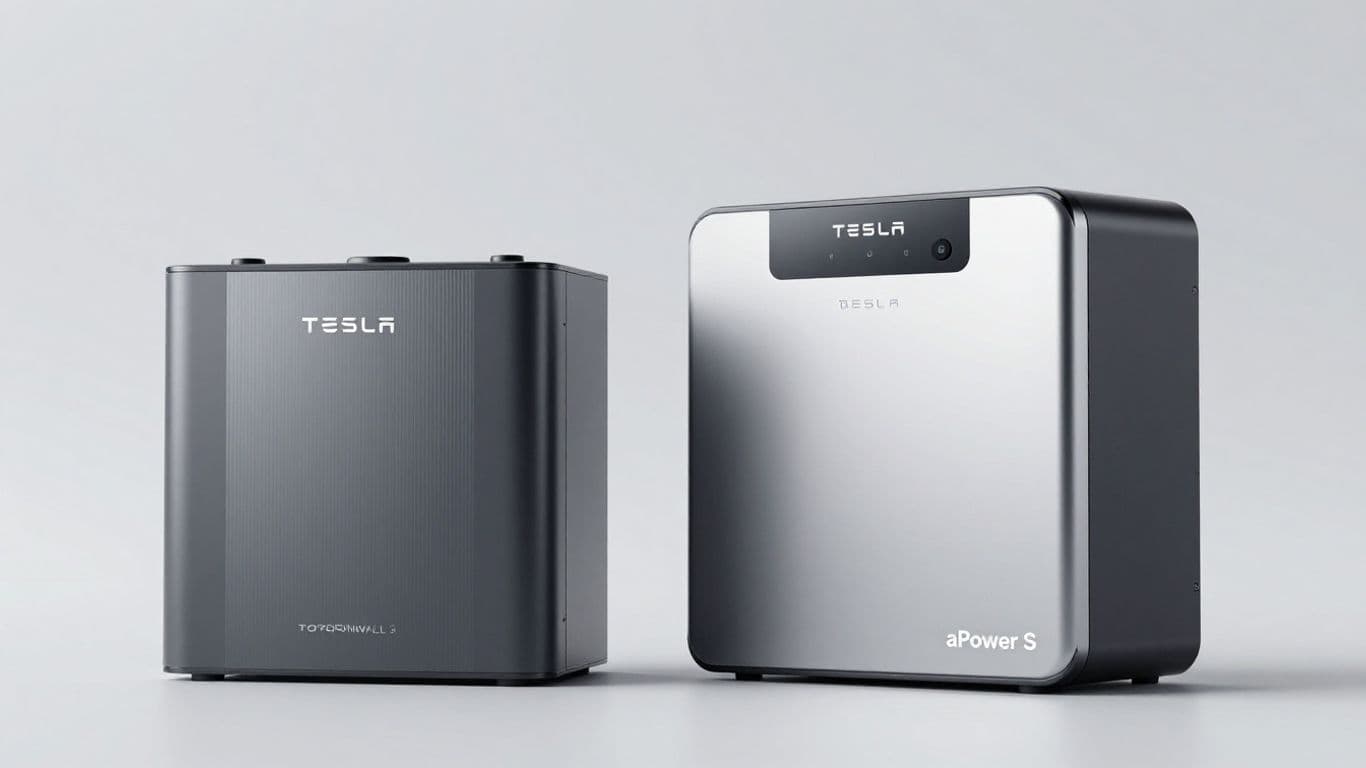
Tesla Powerwall 3 vs. Franklin aPower S: Which Home Battery Is Right For You?
Choosing the right home battery system can feel like a big decision, especially with new technologies hitting the market. This video breaks down two top contenders: the Tesla Powerwall 3 and the Franklin aPower S. We'll look at what they offer, how they stack up, and what it means for homeowners, particularly under NEM 3.0. Key Takeaways * Both the Tesla Powerwall 3 and Franklin aPower S are all-in-one systems, combining a hybrid inverter with battery storage. * They use a high-voltage DC-c
June 1, 20265 min
NEM 3.0: Why You Might Still Get a True-Up Bill (And How to Avoid It)
Are you a California homeowner wondering why you might still be getting a true-up bill, even with solar? This guide breaks down the math behind NEM 3.0 and what it means for your electricity costs, especially with utilities like SCE, PG&E, and SDG&E. Key Takeaways * Under NEM 2.0, a true-up bill usually means your system wasn't sized correctly for your energy needs or your energy usage patterns changed significantly. * NEM 3.0 introduces monthly net billing, meaning you'll likely have a tru
May 30, 20265 min
Why the World’s Biggest Hydrogen Plant Isn’t Making Hydrogen—And Why Homeowners Should Care About Energy Economics
In the heart of the Saudi desert, an $8.4 billion project is nearly finished—a gleaming mega-factory powered by sunlight and wind. But here's the twist: despite all the buzz, this plant (the NEOM Green Hydrogen Project) isn’t really exporting hydrogen at all. It's shipping ammonia, instead, and there’s a reason why that matters more than you might think for the world—and for homeowners watching California’s solar changes unfold. Key Takeaways * The world’s largest “hydrogen” plant is actuall
May 28, 20265 min
California Homeowners: Is Your Solar System Ready for the Future?
This video discusses recent developments in AI law, Tesla's Full Self-Driving technology, Waymo's expansion, and SpaceX's Artemis missions. For California homeowners, the key takeaways revolve around the increasing integration of smart technology in homes and vehicles, and how these advancements might influence future energy decisions and the adoption of solar power. Key Takeaways * Smart Home Technology: Innovations like automated window shades (SmartWings) highlight the growing trend of sm
May 27, 20265 min
Lunar AI: The Smartest Home Battery System That Saves You Money
This video dives into the Lunar AI system, a home battery solution designed to maximize savings for homeowners. It explains how the system uses smart software to optimize energy usage, storage, and export, potentially paying for itself faster than other options on the market. How Lunar AI Works The Lunar AI system is all about making your home's energy hardware, like solar panels and battery storage, work harder for you. The main goal is to get the best possible return on your investment. Lun
May 26, 20265 min
The Surprising Truth About AI and Your Job
Artificial intelligence is changing the way we work, and it's not just about robots taking over. This discussion explores how AI is actually creating new opportunities and how we can prepare for these shifts. It's less about fear and more about understanding the practical impact on different jobs and industries. Key Takeaways * AI is more likely to change jobs than eliminate them. * New roles are emerging that require human skills like creativity and critical thinking. * Learning new skill
May 26, 20265 min
Testing Nvidia's Secret Self-Driving Car in San Francisco Chaos: Should Tesla Be Worried?
Last weekend, I found myself sitting in the back of a Mercedes CLA—right in the heart of San Francisco—with a system nobody outside the NVIDIA team had ever tried. While the CLA wasn’t a new car, what powered it was: NVIDIA’s not-yet-public self-driving platform. They invited me (and luckily, didn’t ask for an NDA), so here’s what went down. Key Takeaways * NVIDIA’s system handled chaotic city traffic surprisingly well. * It’s a mix of vision, radar, and, in higher levels, even lidar. * Co
May 26, 20265 min
Why I’ll Never Fix My Bike Again: Lessons from a Weekend Wreck
This weekend, I thought I'd finally get around to fixing my bike. It seemed simple enough, but let's just say things didn't go as planned. Turns out, DIY repairs can sometimes leave you worse off than before. Key Takeaways * YouTube tutorials often make repairs look way easier than they are. * Getting grease everywhere is just part of the process. * Having a friend to help means nothing if they don't show up. * Sometimes, it’s best to leave these things to the pros. Setting The Scene: M
May 26, 20265 min
Can Tesla's Full Self-Driving Convince My Mom After a Near-Fatal Accident?
It's a scary thought: over a million people die in car accidents each year. My own mom was almost one of them. She actually fell asleep at the wheel, which wrecked her car's suspension, blew out a tire, and could have been so much worse. That's why I think cars like Teslas are important. But here's the thing, she doesn't really trust the idea of full self-driving. So, today, we're doing something a little wild. We're putting her in the driver's seat of a Tesla, using the latest version of Full S
May 26, 20265 min